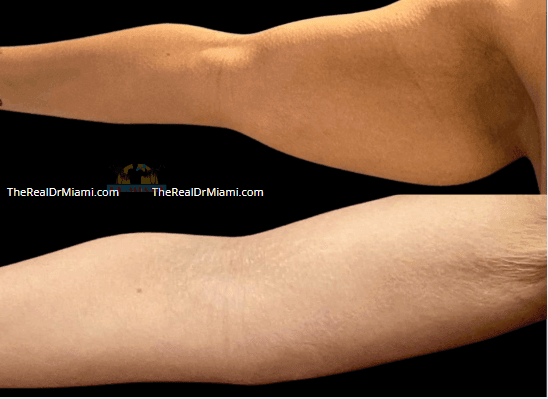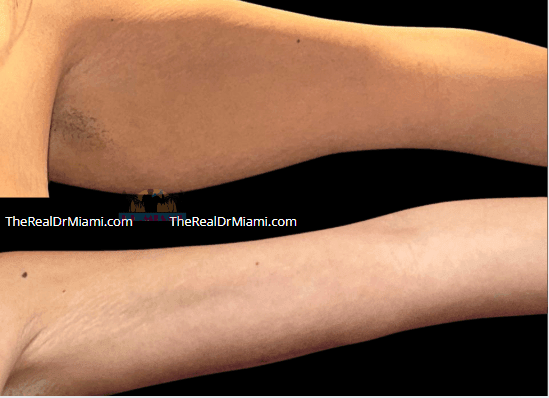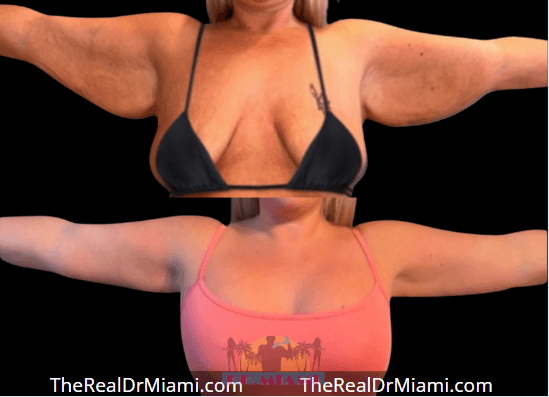
Before & After
Dr. Miami Before and After Gallery
Loading the latest approved patient results.
Explore patient results
Loading gallery results
Before & After
Dr. Miami Before and After Gallery
Loading the latest approved patient results.
Loading gallery results
Before & After
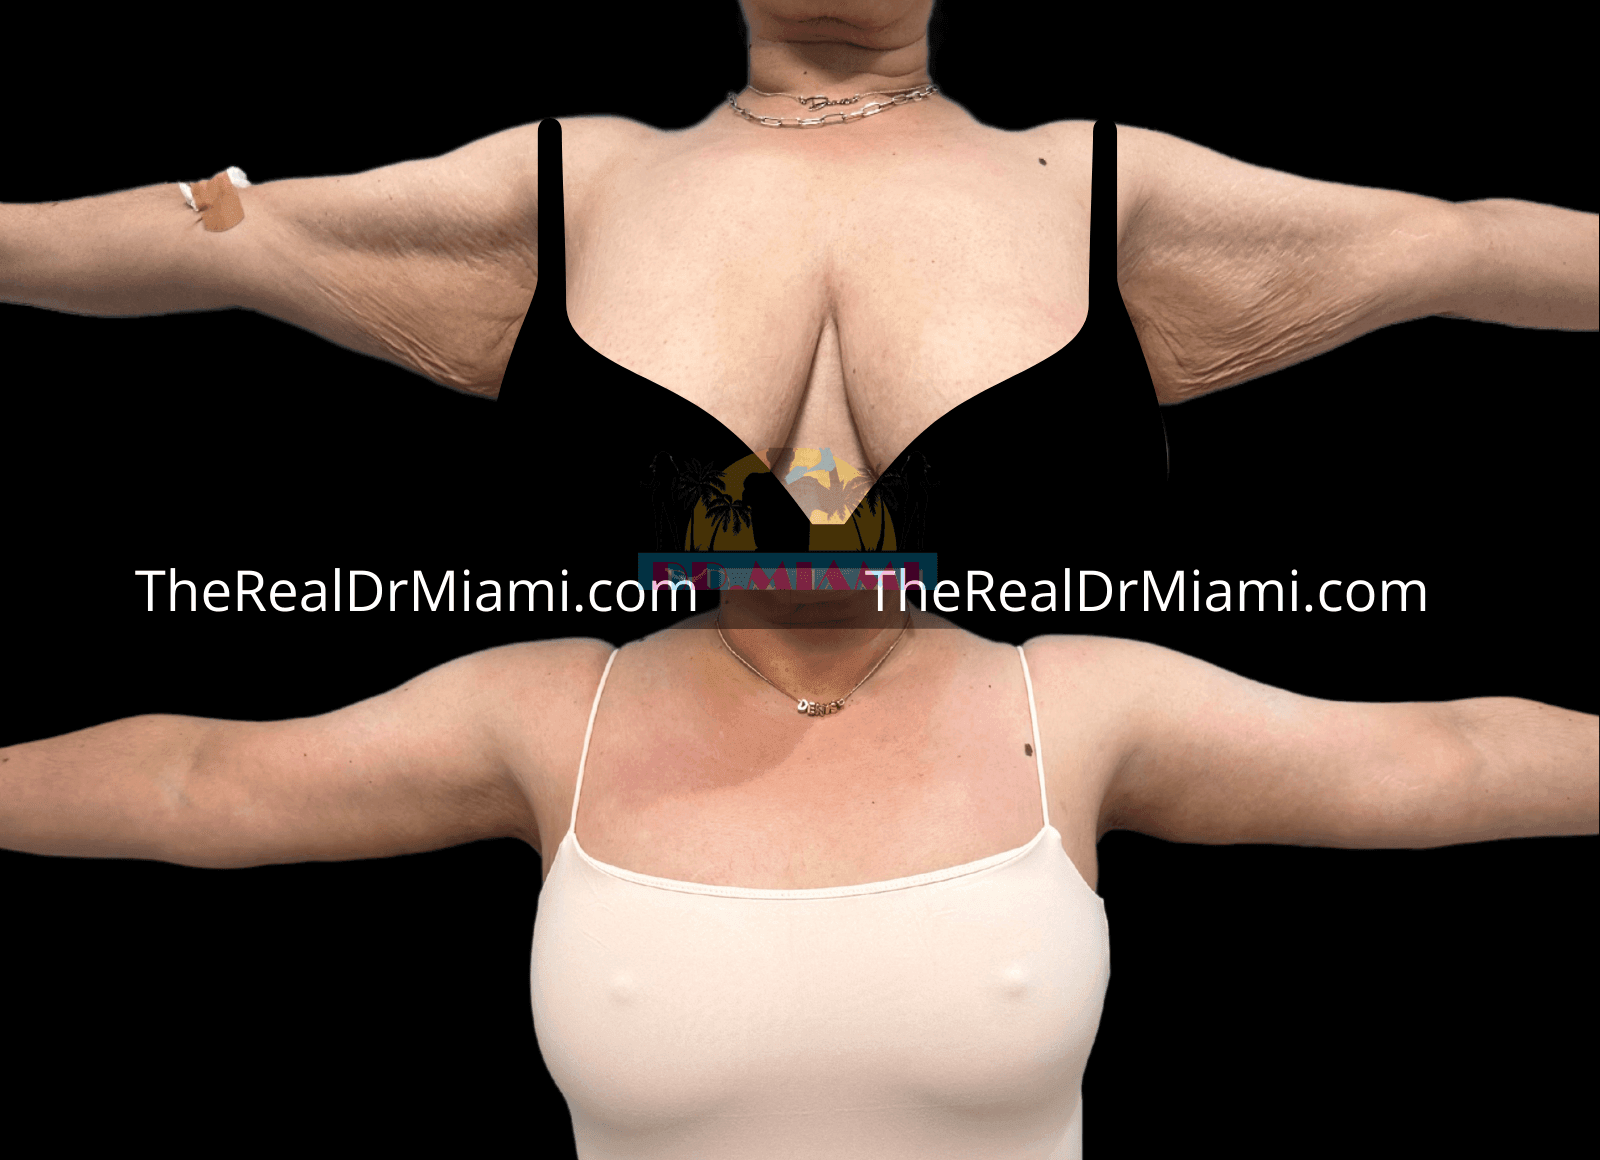
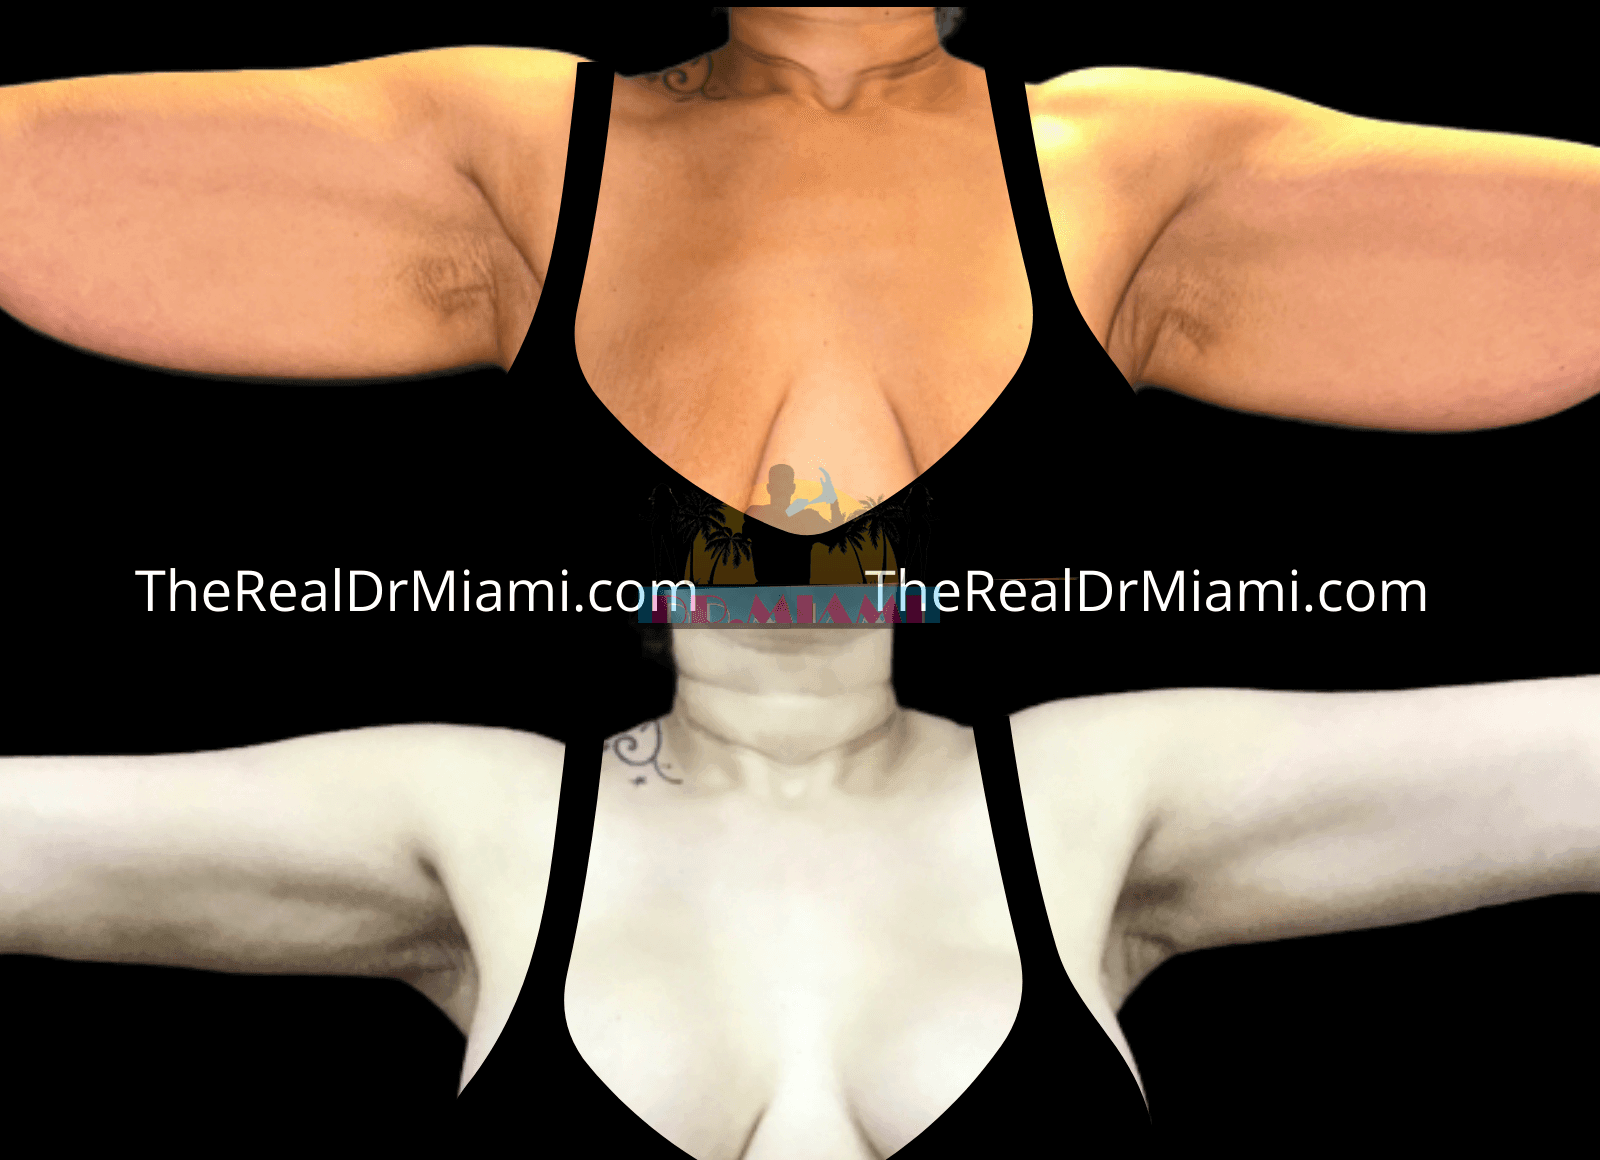
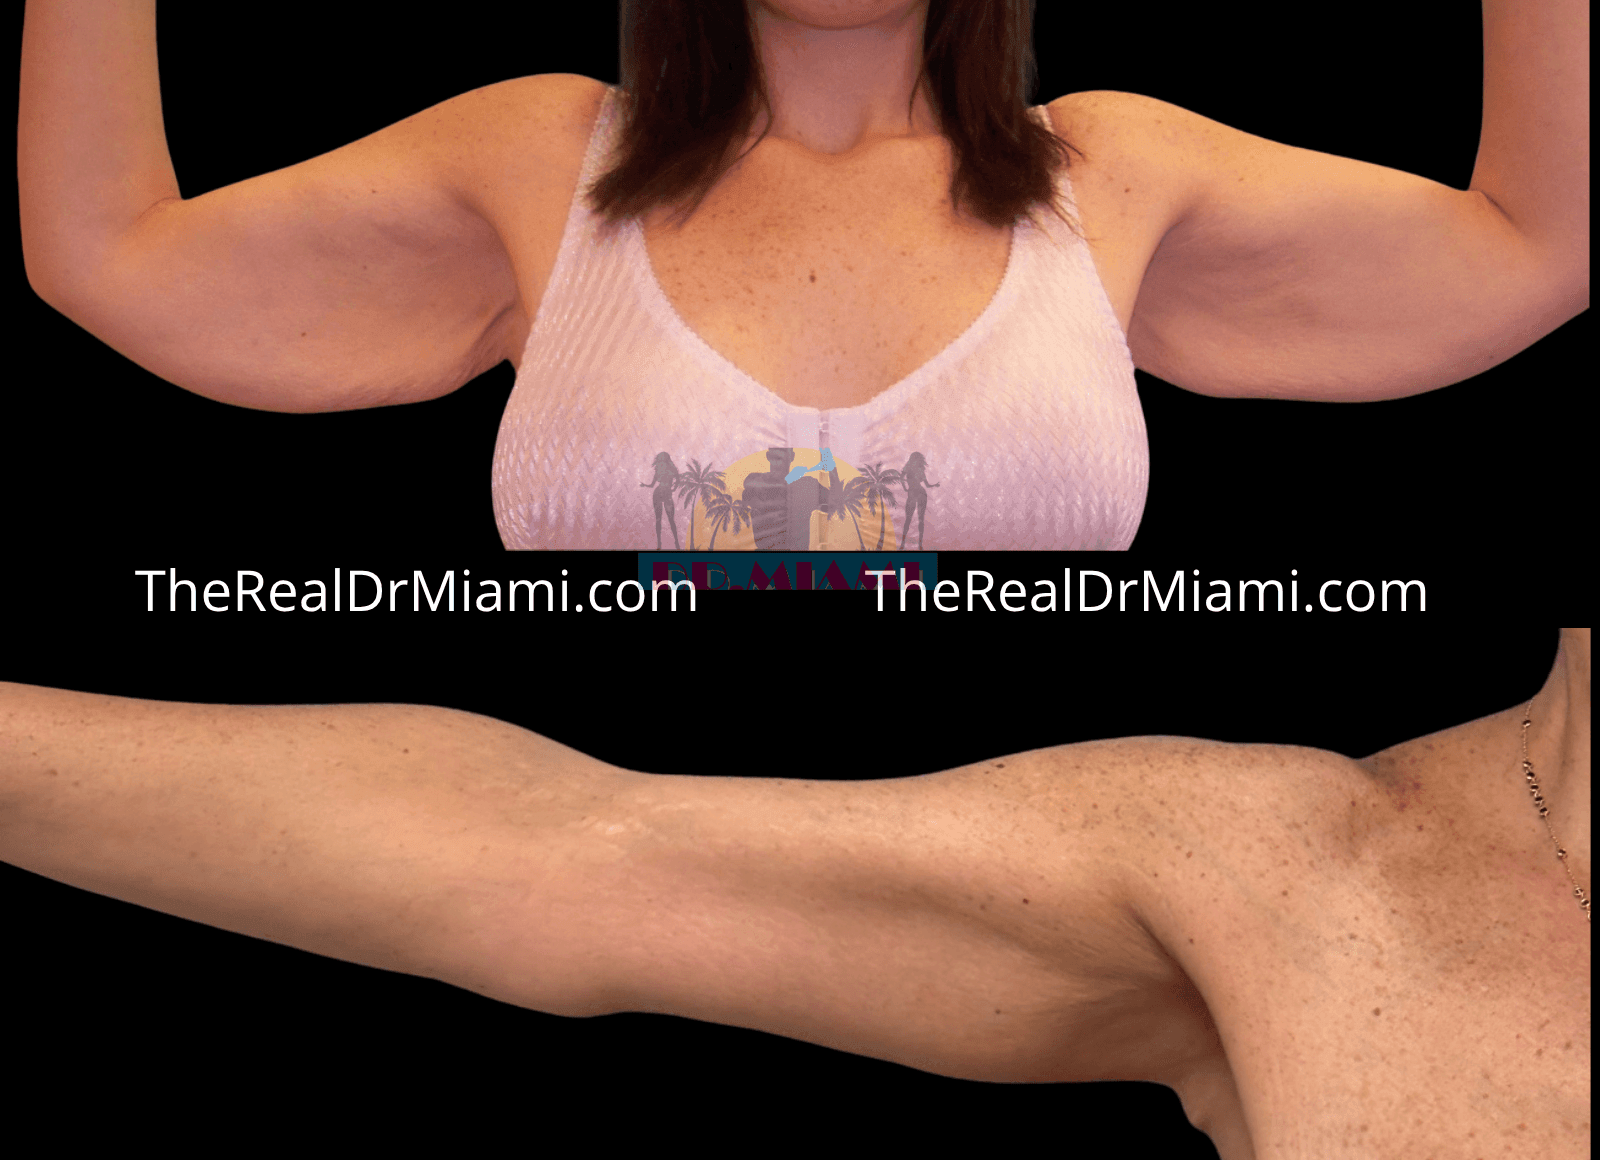
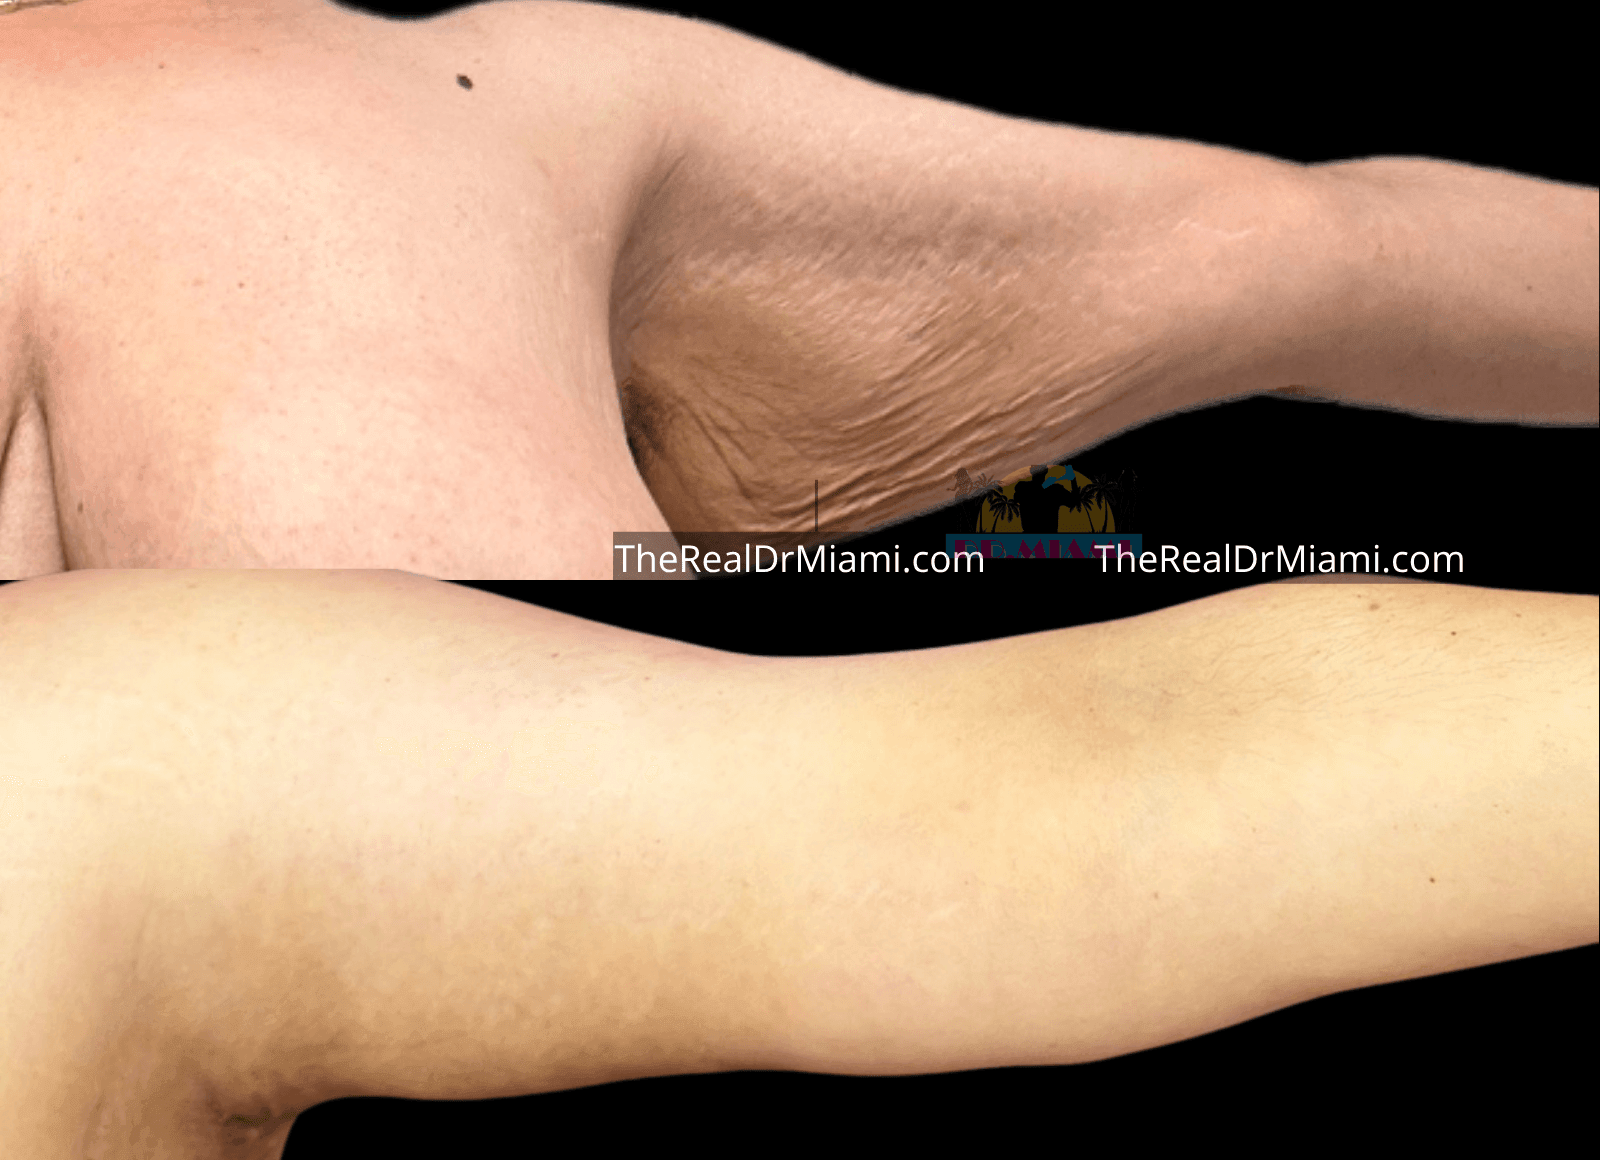
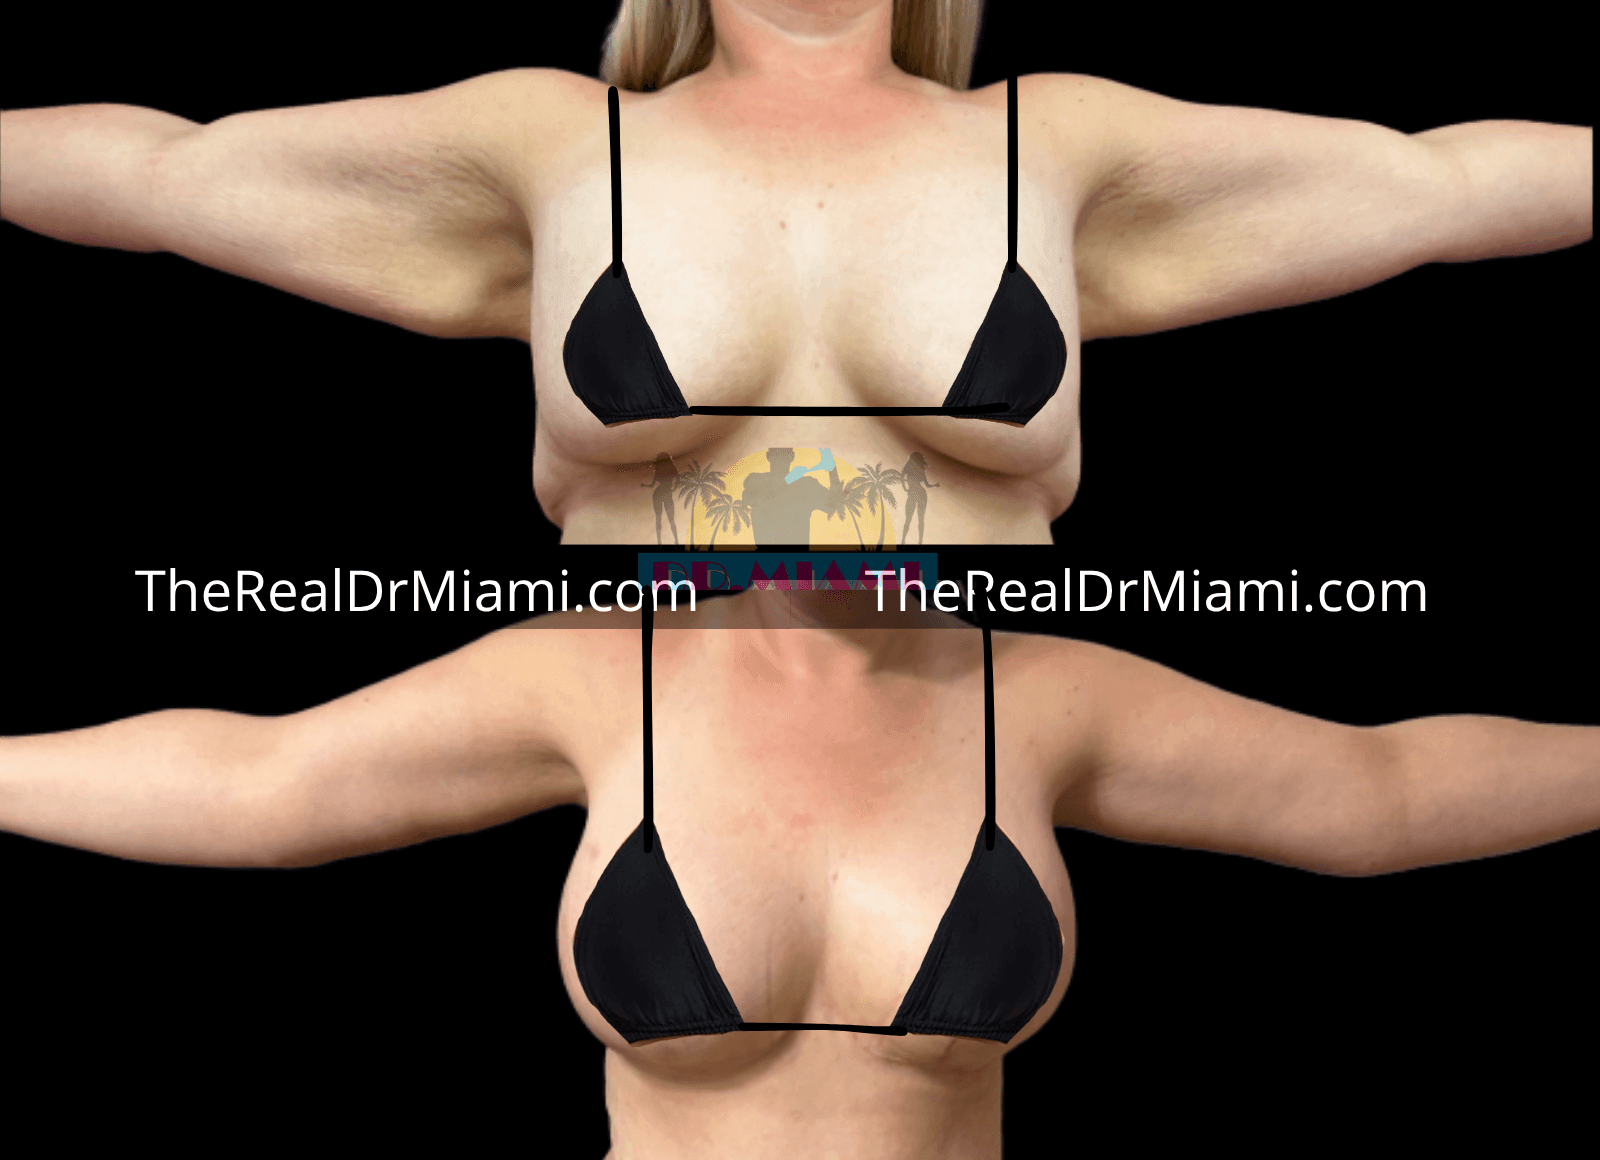
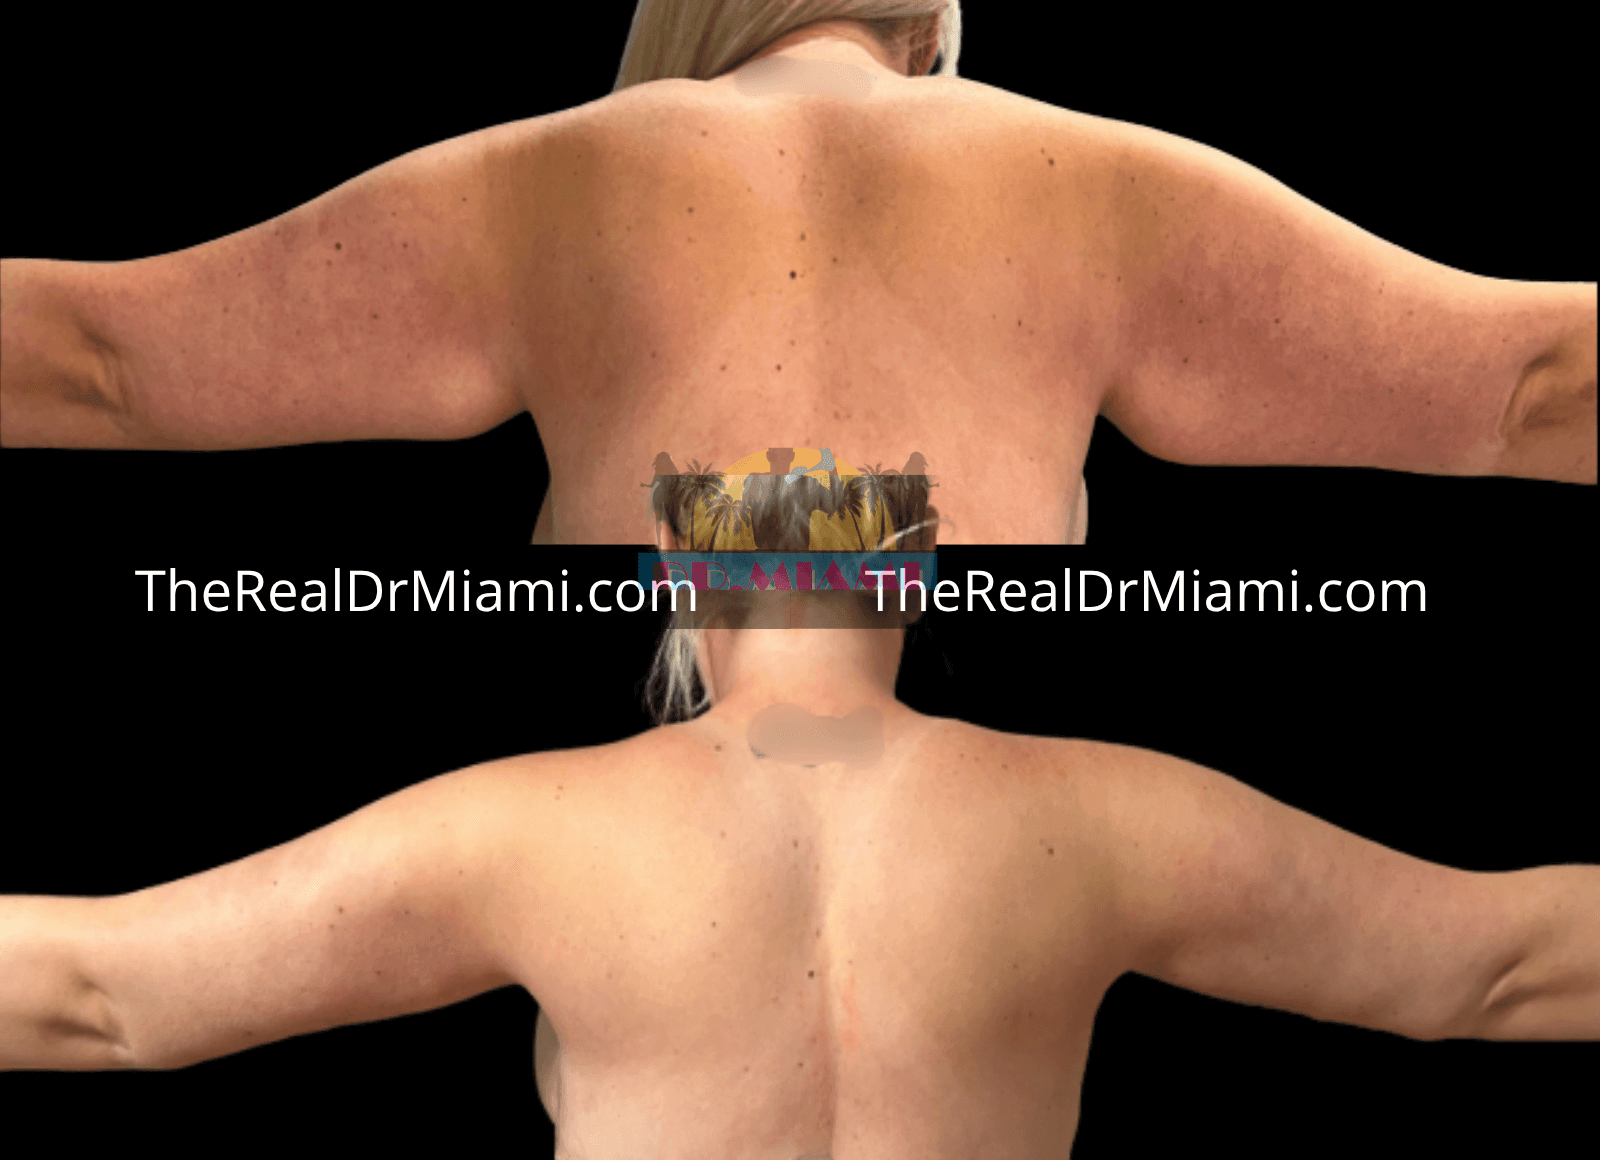
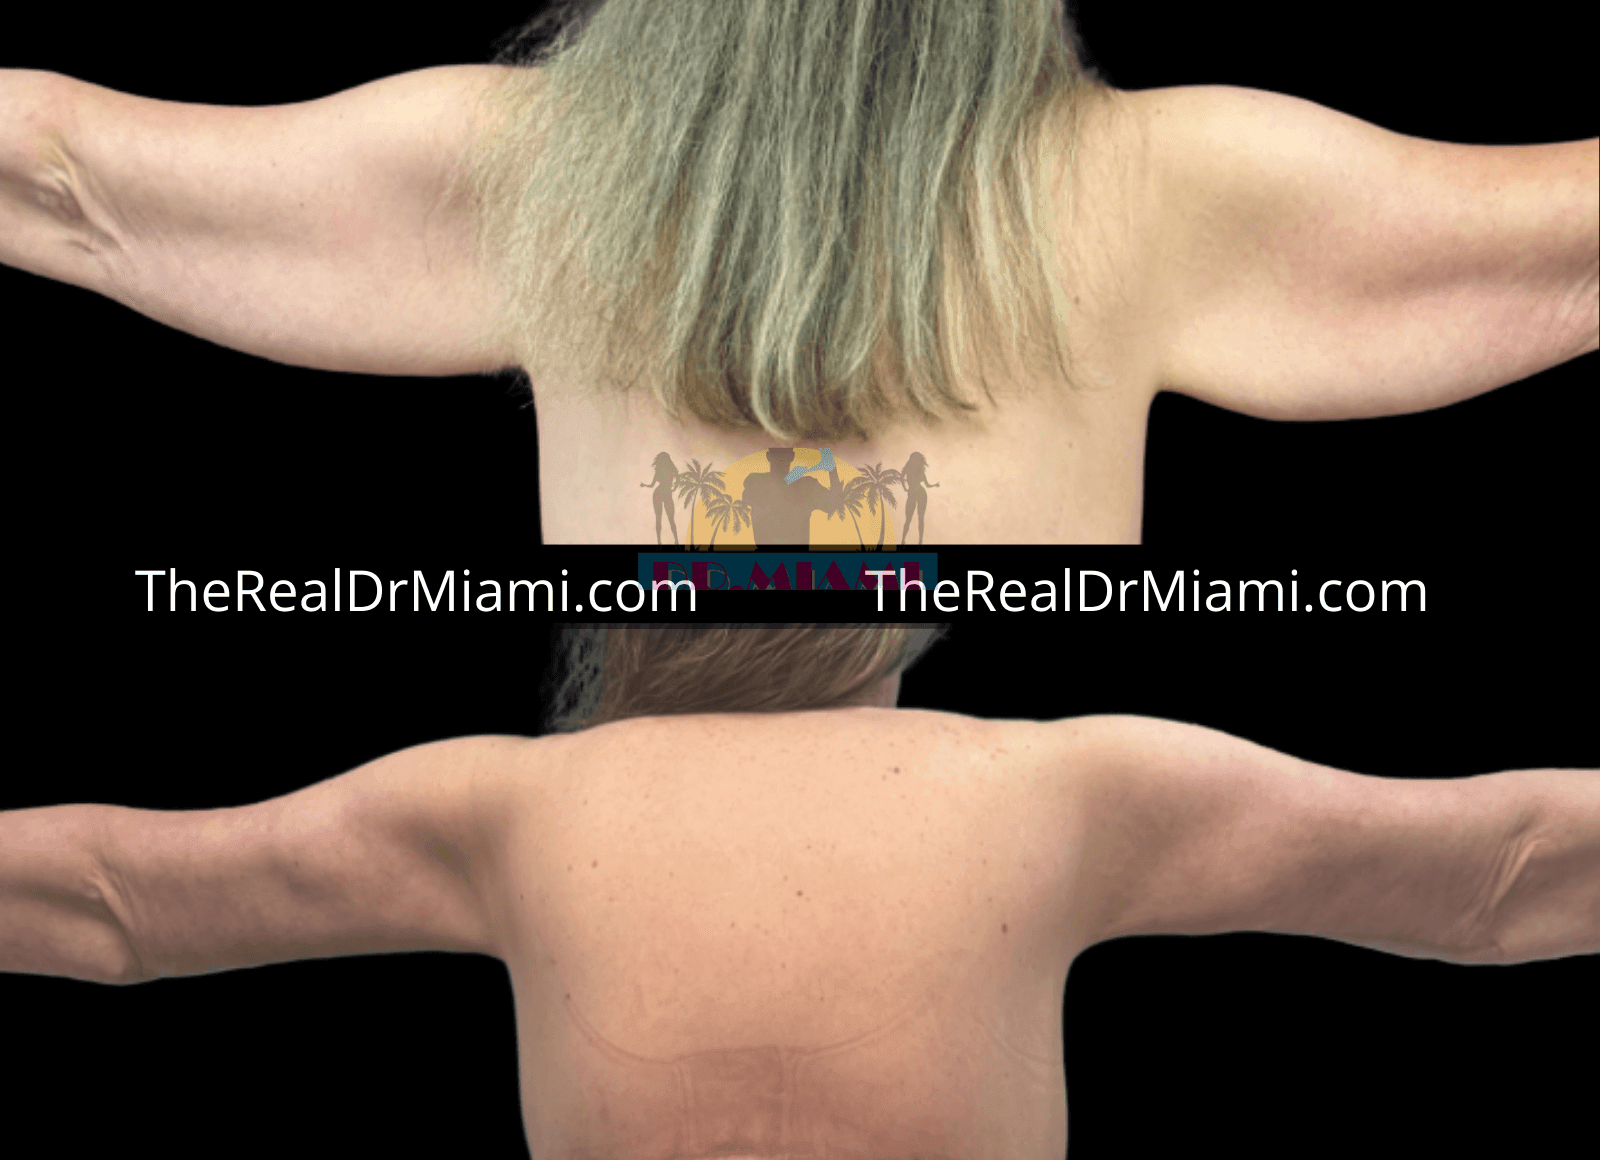
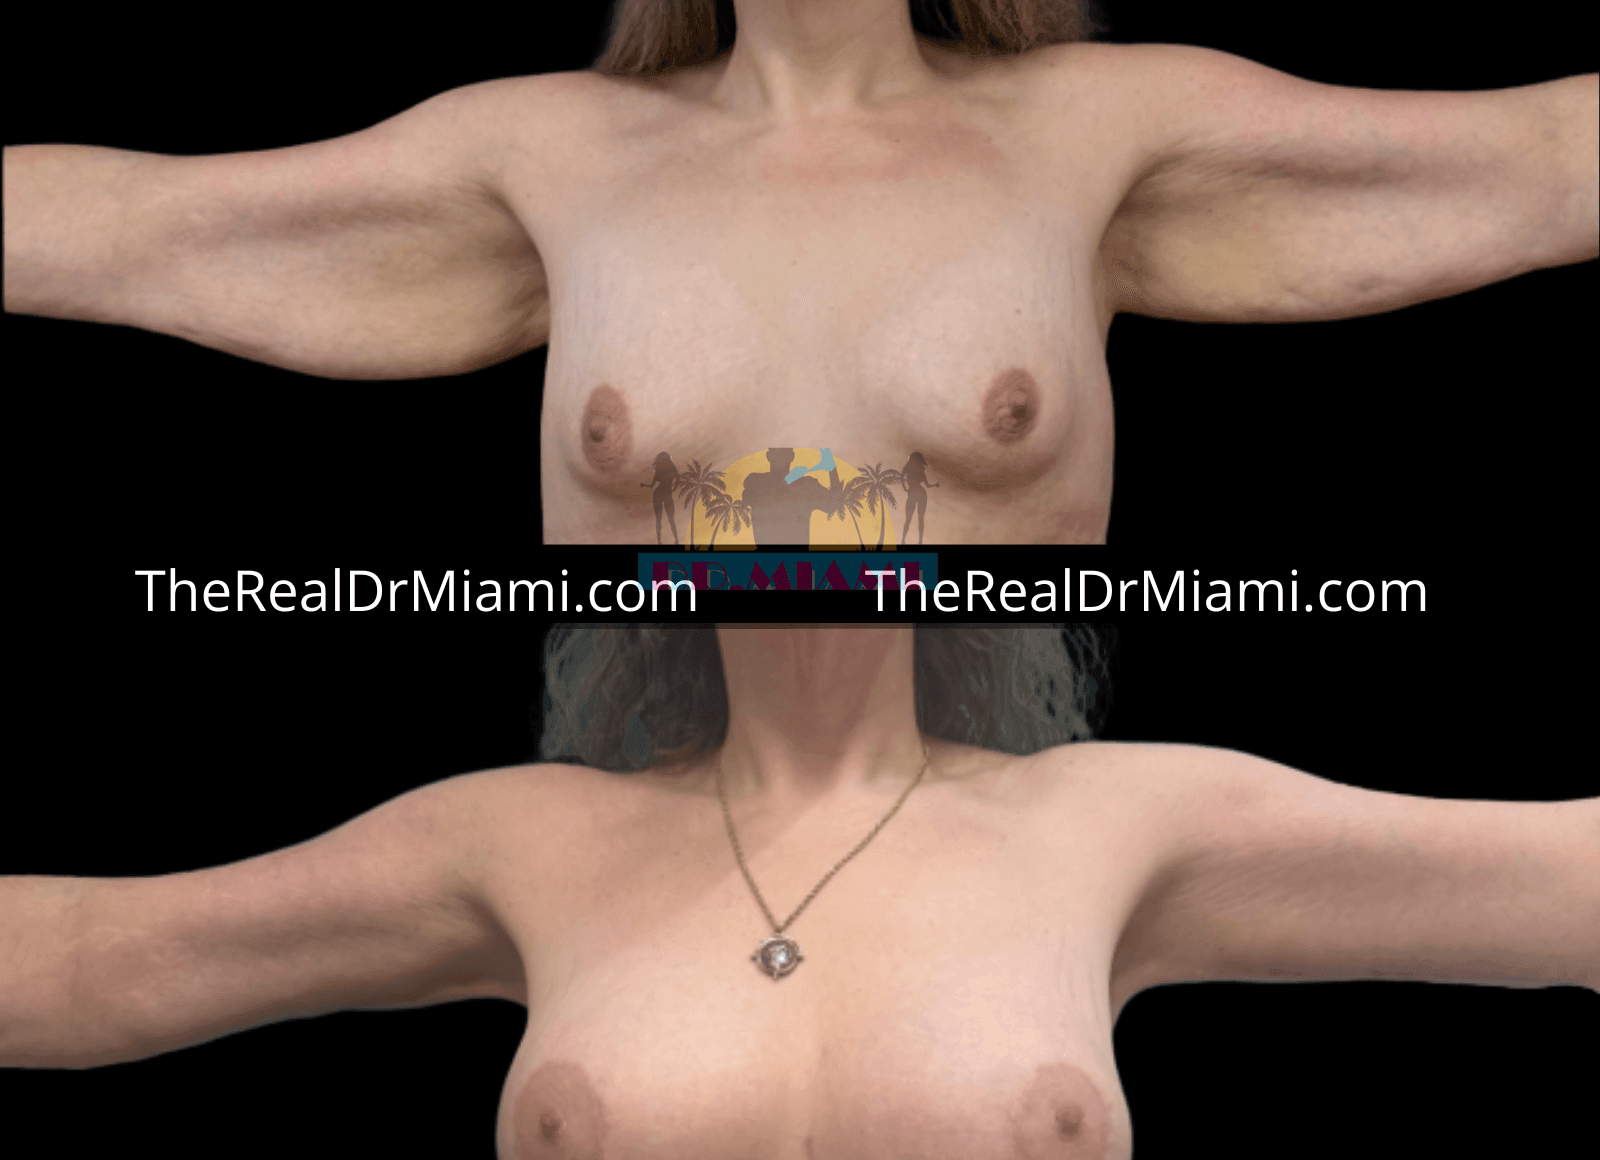
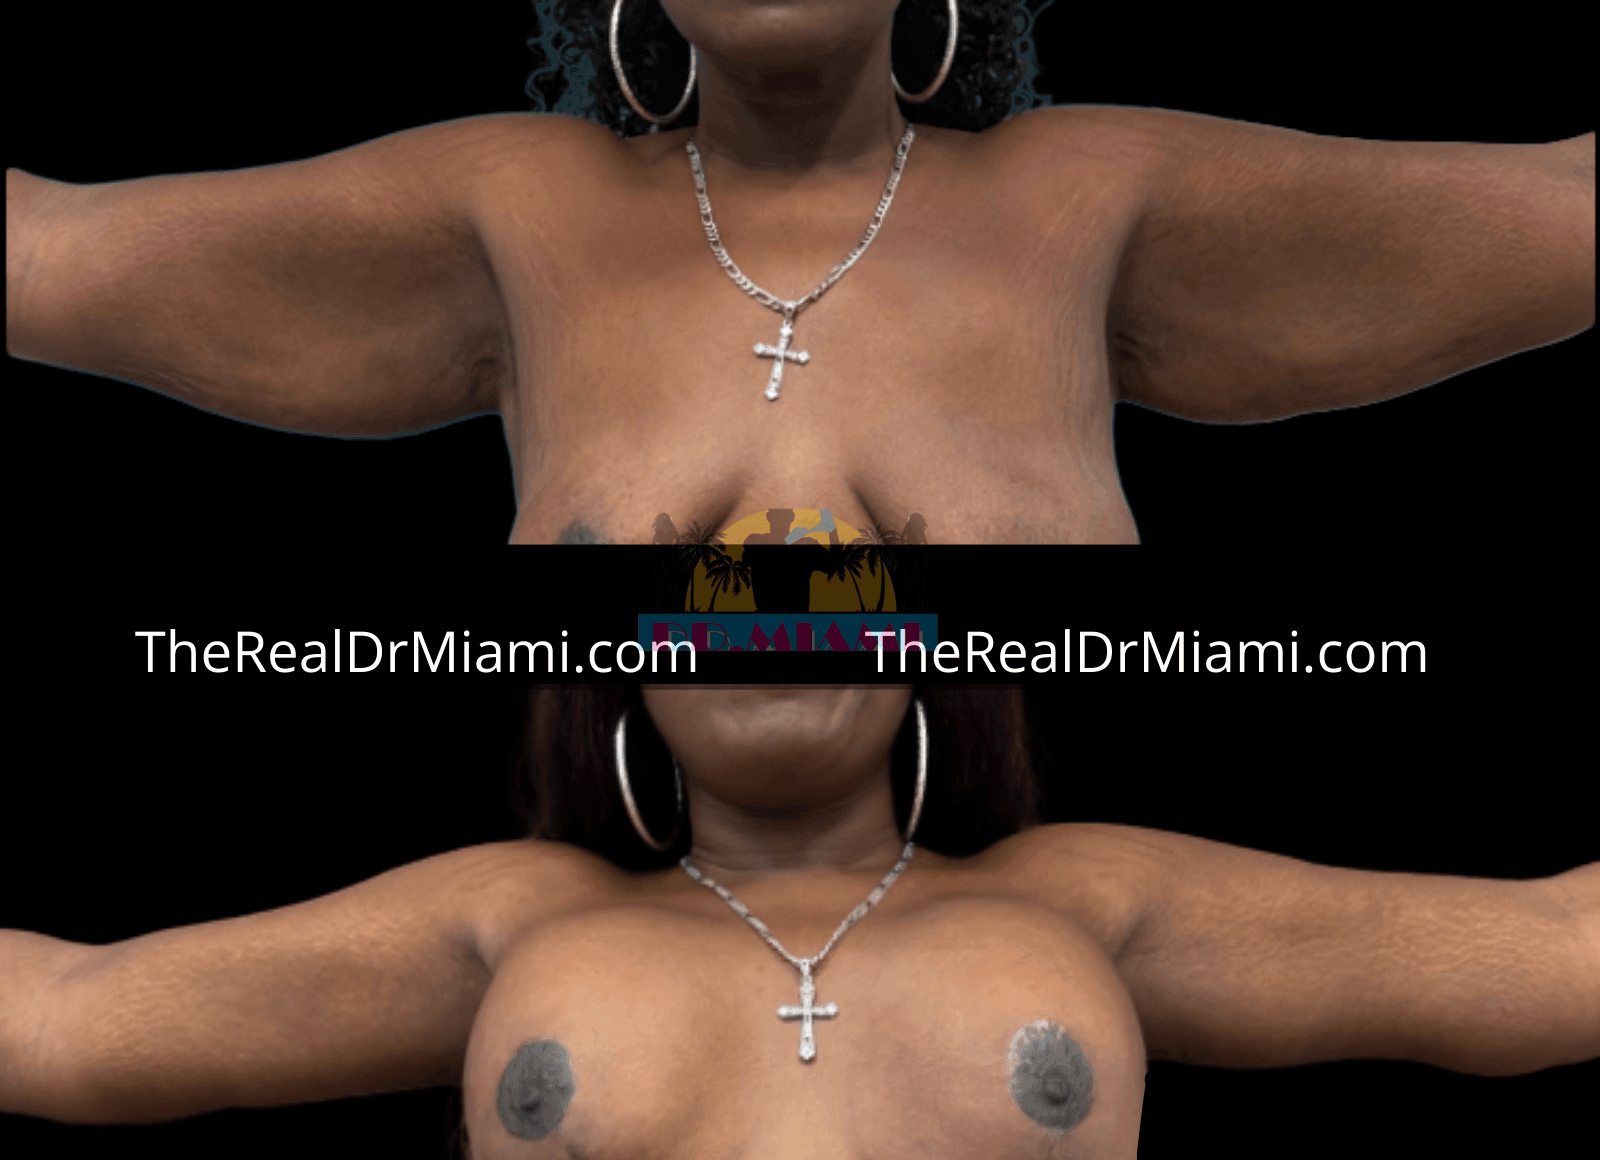
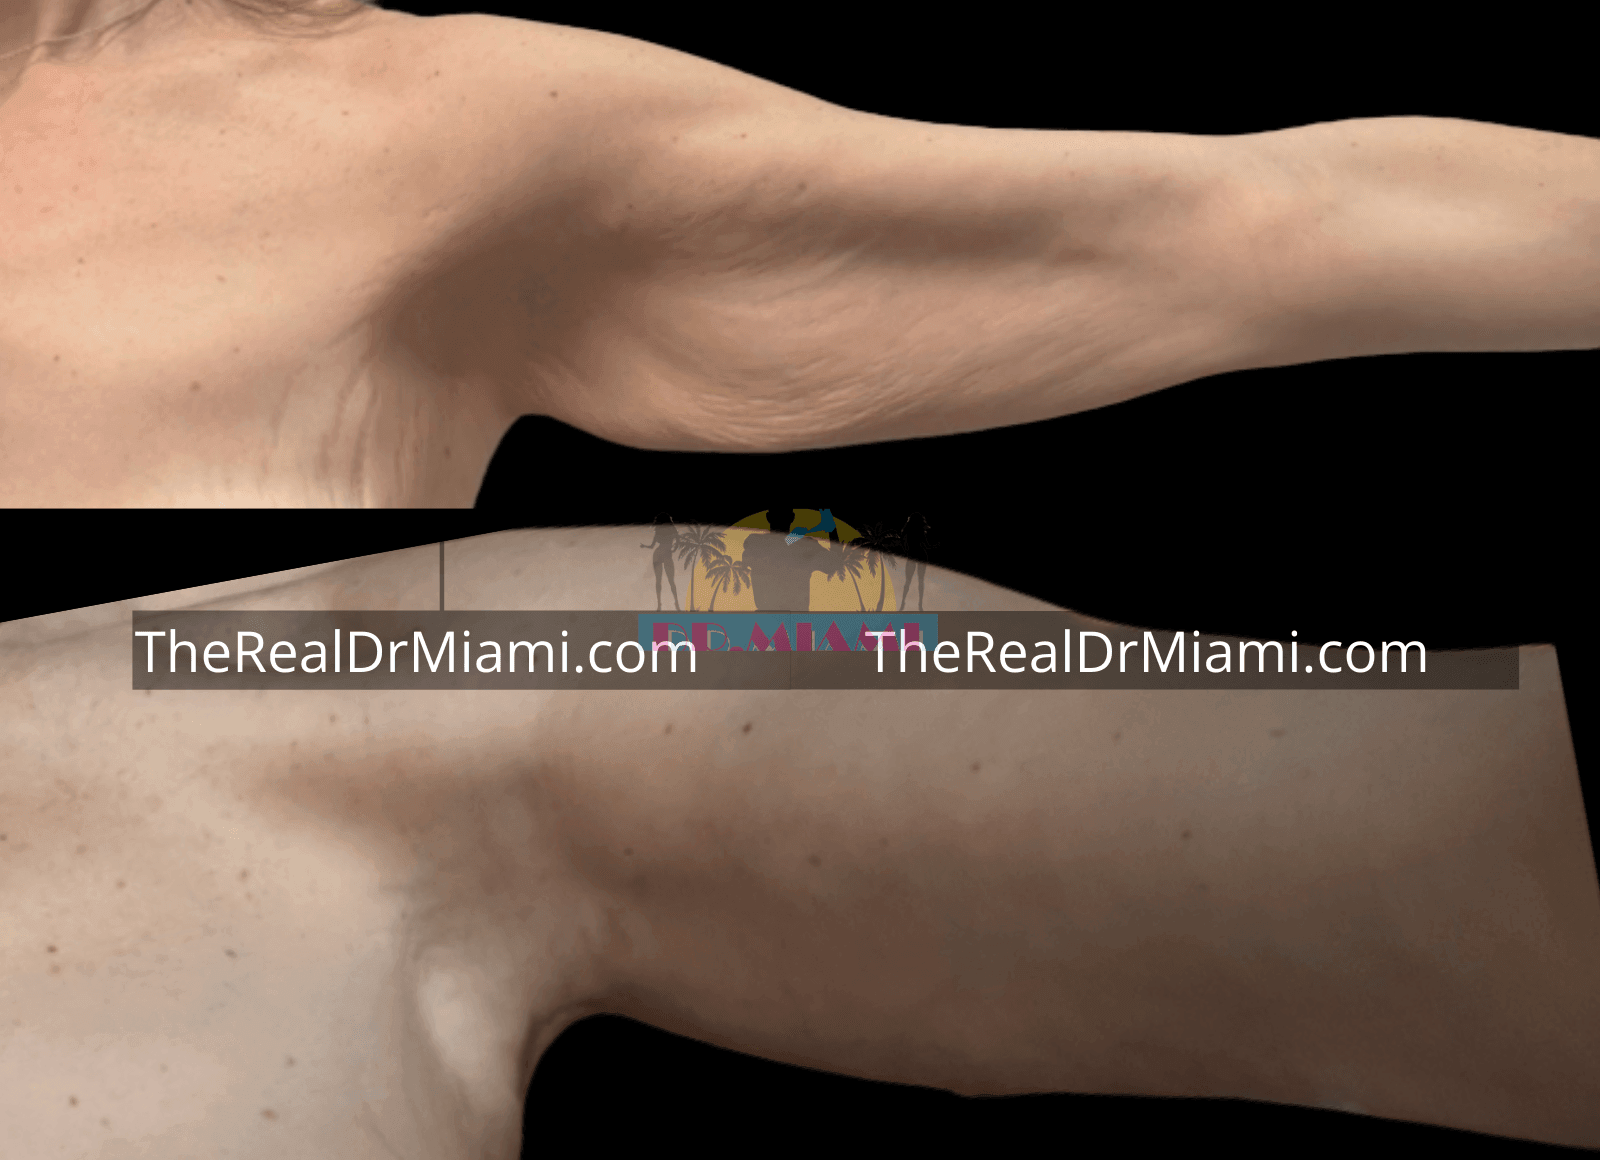
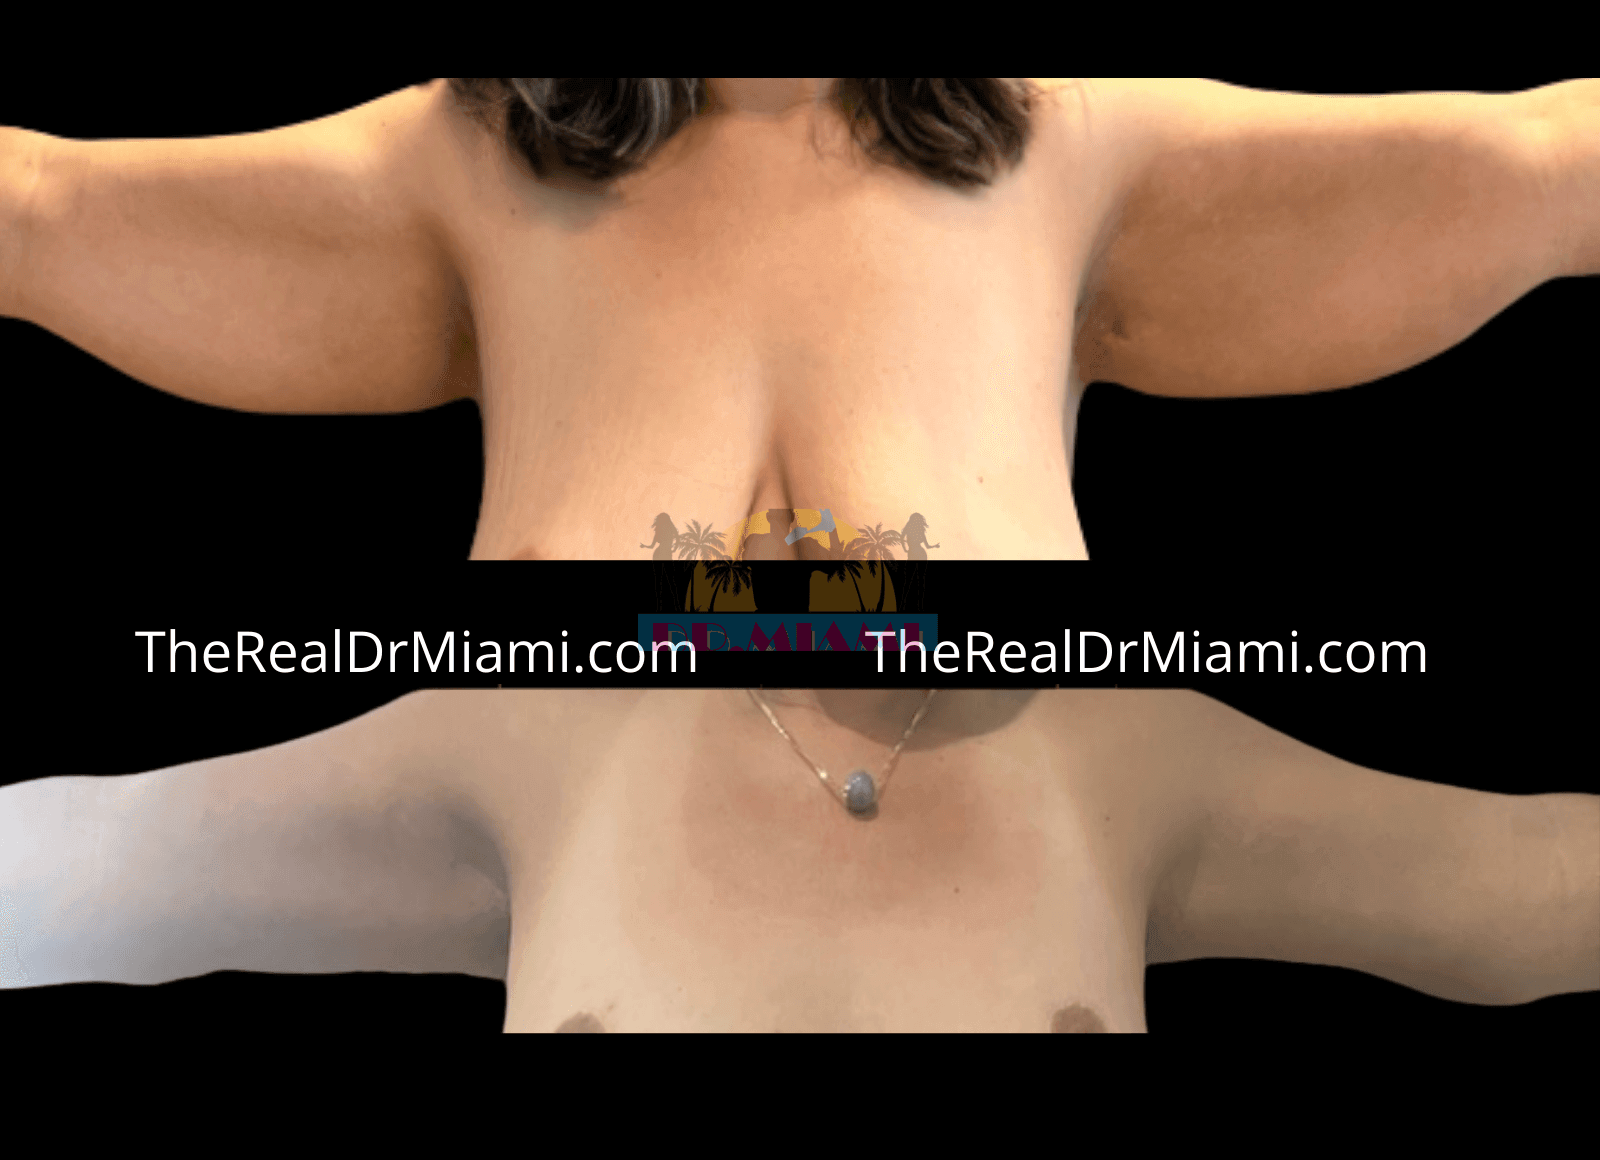
Real patient results: photos are shared with permission. Every person heals differently, so individual results vary.
Showing 15 matching results
Photos are shown with public-use approval. Individual results vary; no outcome can be guaranteed.